Key Takeaways
- Optimal Trade Entry (OTE) is a retracement zone, typically between the 62% and 79% Fibonacci levels of a confirmed impulse move.
- OTE only matters after a genuine market structure shift — using it on an unconfirmed move is guessing with extra steps.
- The zone is a “look here” area, not an automatic entry trigger on its own.
- OTE combines naturally with order blocks and fair value gaps to narrow a wide retracement zone into a precise entry.
- Discipline matters more than the tool — chasing price that skips the OTE zone entirely is a common, costly mistake.
- OTE improves risk-to-reward by entering closer to the origin of the move rather than chasing it after the fact.
Every ICT trader eventually hits the same frustrating pattern: they correctly call the direction of a move, watch it happen exactly as expected, and still lose money because they entered too late, too far from the origin, with a stop loss too wide to make sense. Optimal Trade Entry exists specifically to fix that problem.
OTE isn’t a separate trading strategy. It’s a precision tool that tells you where, within an already-confirmed move, the highest-probability, best risk-to-reward entry tends to sit.
What Optimal Trade Entry Actually Is
Optimal Trade Entry refers to a specific retracement zone — generally between the 62% and 79% Fibonacci retracement levels — measured from the start to the end of a confirmed impulse move. The idea is simple: after a strong directional move, price frequently pulls back into this zone before continuing in the original direction, offering traders a chance to enter closer to the origin rather than chasing the move after it’s already extended.
This only works as intended when applied to a move that has already confirmed a genuine shift in market structure. Drawing OTE on random swings without that confirmation turns a precision tool into decoration on a chart.
“OTE doesn’t predict the move. It tells you where to stand once the move has already told you where it’s going.”
Why the 62%–79% Zone Specifically
The logic behind this particular Fibonacci retracement range comes from how deep pullbacks tend to go before the underlying momentum reasserts itself. A shallow retracement often signals overwhelming strength that leaves little room for a clean re-entry, while a retracement beyond roughly 79% starts to suggest the original move may be failing rather than simply pausing.
The 62%–79% pocket sits in between — deep enough to offer a meaningfully better price and risk-to-reward ratio, but not so deep that it signals the impulse has been invalidated. This is why ICT traders treat it less like a magic number and more like a probability sweet spot.
OTE Requires Confirmation First, Not Hope
The single most common misuse of OTE is drawing it on a move that hasn’t actually confirmed anything yet. A retracement zone measured from an unconfirmed swing is just a guess with a Fibonacci tool attached to it. OTE becomes powerful specifically because it’s applied after the market has already shown its hand — after a clear break in structure, not before.
This connects directly to forming a proper daily bias before the session even starts. A trader who already has a structured directional lean is far better positioned to recognize a genuine confirmed move worth drawing OTE on, rather than reacting to every wiggle on a lower timeframe chart.
Comparison: Chasing Price vs Using OTE
| Element | Chasing the Move | Using OTE |
|---|---|---|
| Entry Timing | After the move has already extended | During the pullback into the 62%–79% zone |
| Stop Loss Size | Wide, placed far from entry | Tighter, placed closer to the retracement structure |
| Risk-to-Reward | Often poor due to late entry | Generally improved due to entry near origin |
| Emotional State | Fear of missing out | Patience for the pullback to arrive |
| Confirmation Needed | Often none — reactive entry | Requires a confirmed structure shift first |
Stacking OTE With Order Blocks and Fair Value Gaps
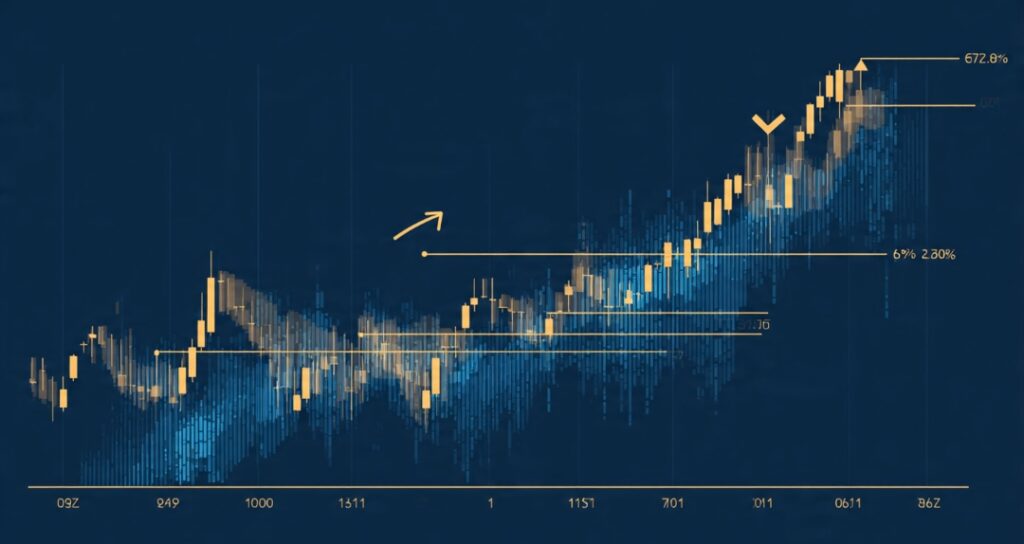
A raw Fibonacci retracement zone can still span a fairly wide price range on higher volatility instruments, which is where combining OTE with other structural tools sharpens things considerably. When an order block or fair value gap lines up inside the OTE zone, it narrows a broad “look here” area down to a specific, defendable entry point with a clear invalidation level.
This stacking is what separates traders who use OTE as a genuine precision tool from those who treat it as a rough guideline and end up with entries barely better than chasing price outright.
What Nobody Tells You
Here’s the uncomfortable truth: price does not always retrace into the OTE zone. Strong moves, especially ones driven by significant news or session-opening momentum, sometimes barely pull back at all before continuing. Traders who wait rigidly for a textbook OTE entry on every single move end up missing some of the cleanest trends simply because the “ideal” pullback never showed up.
The realistic approach is to treat OTE as the best-case entry scenario, not the only acceptable one. This ties into a broader lesson about the cost of waiting too rigidly for confirmation — sometimes the discipline that protects you from bad entries is the same discipline that costs you good ones, and recognizing that trade-off honestly is part of maturing as a trader.
How OTE Fits With Liquidity Sweeps
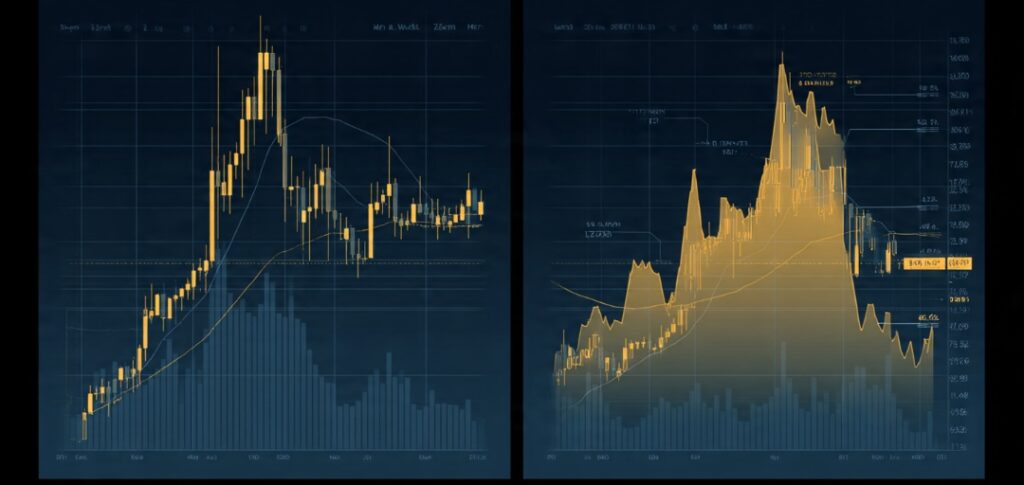
OTE entries often become significantly stronger when they line up with a liquidity event, such as a sweep of equal highs or equal lows just before the retracement begins. When the pullback into the OTE zone coincides with resting liquidity being cleared out first, it adds another layer of confluence suggesting the retracement is genuine rather than the start of a deeper reversal.
This is also where understanding inducement helps. A retracement that sweeps an obvious liquidity pool on its way into the OTE zone tends to carry more conviction than one that drifts into the zone without clearing anything meaningful first.
“Confluence isn’t about stacking more indicators. It’s about multiple pieces of the same story agreeing with each other.”
Managing Risk Around OTE Entries
Even a well-confirmed OTE entry needs a defined invalidation point. If price pushes beyond roughly the 79% retracement level and keeps going, the premise behind the trade has likely failed, and the position should be closed rather than held on hope. This is standard risk management practice applied specifically to the mechanics of this setup.
Position sizing should also reflect that OTE, like every other ICT concept, is a probability tool rather than a certainty. No single technical indicator or retracement framework wins every time, and treating OTE setups as “sure things” leads to the same oversized risk-taking that undermines traders using any other method.
Now It’s Your Move
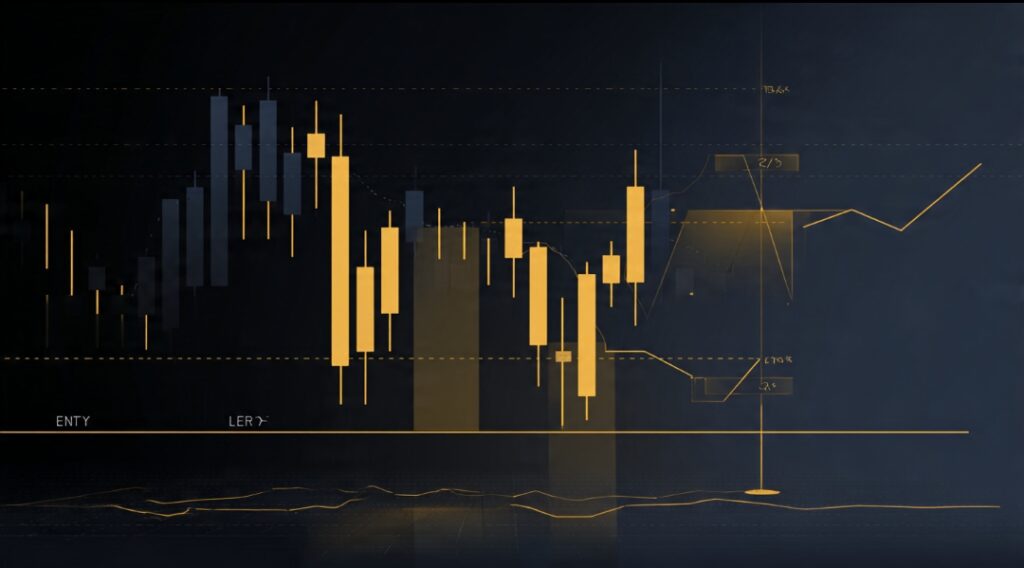
- Wait for a confirmed structure shift before drawing any Fibonacci retracement for OTE purposes.
- Measure the retracement from the true origin to the true end of the confirmed impulse move.
- Focus on the 62%–79% zone as your primary area of interest, not the entire retracement range.
- Look for an order block or fair value gap inside that zone to narrow your entry further.
- Check whether a liquidity sweep occurred on the way into the zone for added confluence.
- Set a clear invalidation point beyond the zone and respect it without exception.
- Accept that some strong moves will skip the zone entirely — that’s a missed trade, not a broken system.